A small change to a plastic part can have a larger effect on its injection mold. Before approving a revised hole, rib, wall or assembly feature, identify what changed, which tool surfaces are involved and how the revised part will be accepted. An injection mold design change checklist helps turn a marked-up CAD model into a reviewable manufacturing decision.
This guide focuses on changes to an existing design or tool. For the broader design process, read our injection mold design guide or discuss a mold design and DFM review.
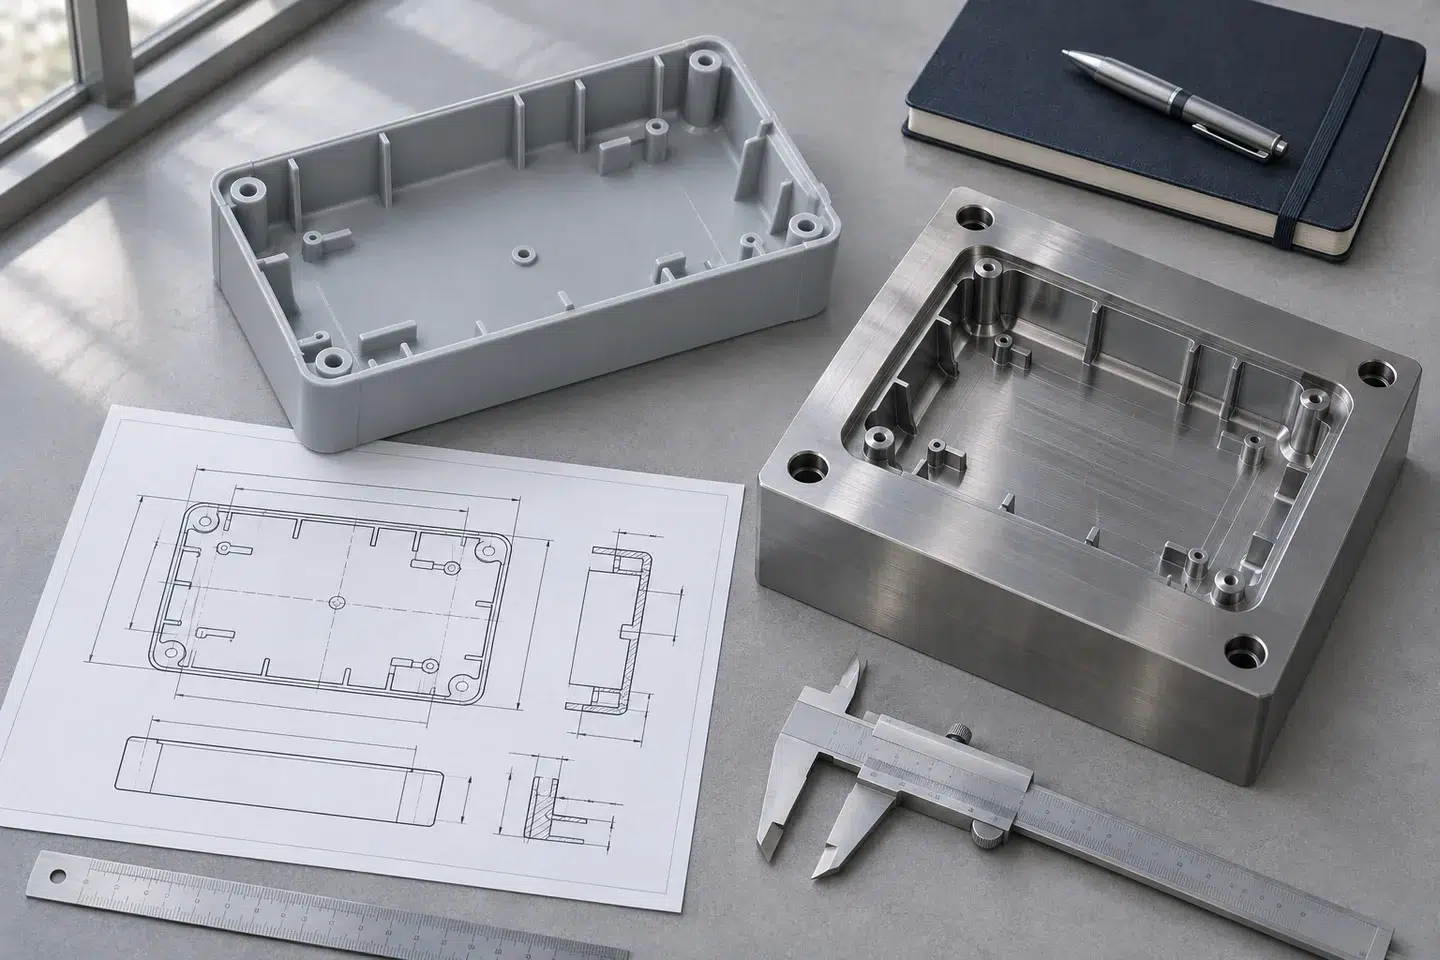
1. Establish the Current Design and Tool Status
Start with the approved baseline: part number, CAD revision, drawing revision, material and the mold configuration. State whether the tool is still being designed, is being manufactured or has already produced trial or production parts. A change request without this context can be assessed against the wrong starting point.
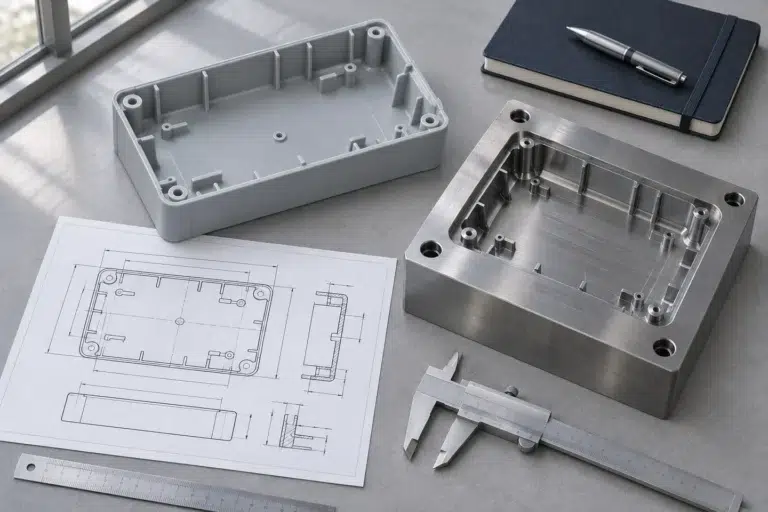
Supply the current and proposed files together. Add an annotated view identifying each changed feature and its purpose, such as assembly clearance, fastening, appearance or a functional requirement. Avoid a file name such as “final-new” as the only revision control.
| Field | What to Record | Why It Matters |
|---|---|---|
| Baseline | Released CAD, drawing and material specification | Defines the version being changed |
| Proposed revision | Updated files and marked views | Makes each geometry change identifiable |
| Reason | Required functional, assembly or cosmetic outcome | Separates the requirement from a preferred solution |
| Tool status | Current build stage, mold ID and cavity configuration | Establishes what has already been committed |
| Acceptance | Affected dimensions, tests and appearance criteria | Defines how the revision will be evaluated |
| Order disposition | Existing samples, stock, open orders and approval owner | Clarifies which revision may be supplied |
2. Review Metal-Safe Changes Without Assuming Every Change Is Simple
“Steel-safe” or “metal-safe” describes a design approach that anticipates certain adjustments by removing tool material. Whether that approach works depends on the feature and the corresponding core or cavity surface. Protolabs’ metal-safe design guidance illustrates this planning principle.
Do not approve a modification solely because a model comparison shows a small volume difference. Ask the tool designer to identify the affected surfaces and proposed route. A local insert change, a machining operation and a new tool component can have different implications for finish, fit and subsequent maintenance. Availability and suitability of any method need a tool-specific review.
3. Check the Effects Beyond the Changed Feature
Use the following review prompts to define the scope. They are questions for the project team, not a promise that the existing mold can accommodate the revision.
- Part release: Does the revision change draft, an undercut, a shut-off or the way the part leaves the tool?
- Material distribution: Are wall transitions, ribs or bosses different from the previous design?
- Assembly: Which mating parts, fasteners, seals or interfaces must be checked again?
- Appearance: Have visible surfaces or restrictions on gate and ejector marks changed?
- Tool layout: Which inserts, actions, cooling features or runner arrangements need review?
- Cavity coverage: Does the request apply to every cavity or a defined configuration?
Existing gates, vents, parting lines and tool access can constrain a modification; Protolabs discusses several of these interactions in its mold modification design tips. Confirm the proposed solution with the actual mold maker rather than applying another supplier’s process limits to your tool.
4. Agree the Change Scope Before Authorizing Work
- Compare the RevisionsIdentify every changed feature, its reason and the affected requirement.
- Review the Tool ImpactRecord the proposed modification, open questions, quotation scope and sample plan.
- Approve the New BaselineRelease the agreed files and define who may authorize tooling and production.
Keep a correction to meet an existing requirement separate from a customer-requested design change. The distinction helps both teams discuss cost, responsibility and acceptance without treating unlike issues as one task. Document any agreed deviations and their limits instead of relying on an informal message.
5. Define What Must Be Checked Again
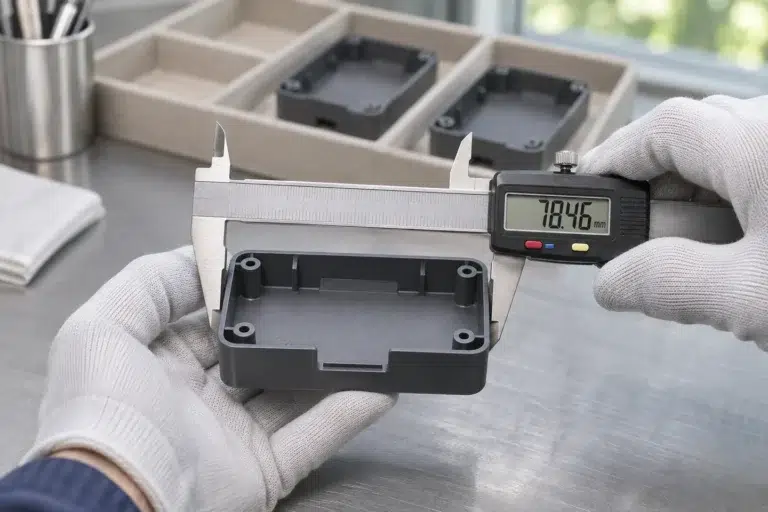
List the changed dimensions and any connected assembly or performance requirements. Decide which measurements, appearance checks and functional evaluations must be repeated. Identify the required sample representation and records before the next trial.
For example, moving a mounting feature may require checking the mating assembly as well as the feature’s own position. Use the injection molding project review to connect the revised drawing with trial and production requirements.
Close the change request with an explicit decision: accepted, accepted within a documented scope, or further work required. Identify what should happen to earlier samples and any stock or open orders. Preserve the inspection evidence with the approved revision for repeat orders.
Injection Mold Design Change FAQs
Can every plastic part change be made in an existing mold?
No. Geometry, tool construction, access, material and the required result affect feasibility. A mold-specific review is needed before confirming a modification.
Does a small CAD change always mean a low-cost tool change?
No. The affected mold surface and connected requirements matter more than the apparent size of the edit. Ask for the proposed work scope and sample requirements.
Should the CAD model or drawing take priority?
Define the governing files and any precedence in the project documentation. Resolve conflicts between them before authorizing tool work.
Do we need new samples after a modification?
Agree a verification plan based on the change and its consequences. Do not assume earlier sample approval automatically covers a revised design.
Discuss a Design Revision Before Tooling
Share the current and proposed files, tool status, material and intended change. BFY Mold can discuss the review scope alongside mold making and tooling requirements.
Send Your Design Requirements →