Injection molding is a widely used manufacturing process that enables the mass production of plastic parts with high precision and efficiency. Whether it’s for creating complex geometries or producing large volumes of identical parts, injection molding is integral to many industries, including automotive, consumer goods, electronics, and medical devices. Now, we will delve into the key steps of the injection molding process: clamping, injection, cooling, and ejection, highlighting the intricacies and importance of each phase.
1. Clamping: Preparing the Mold
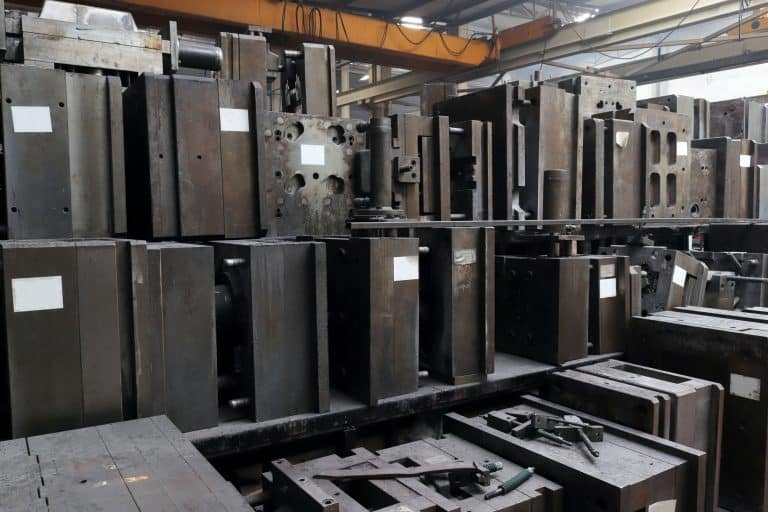
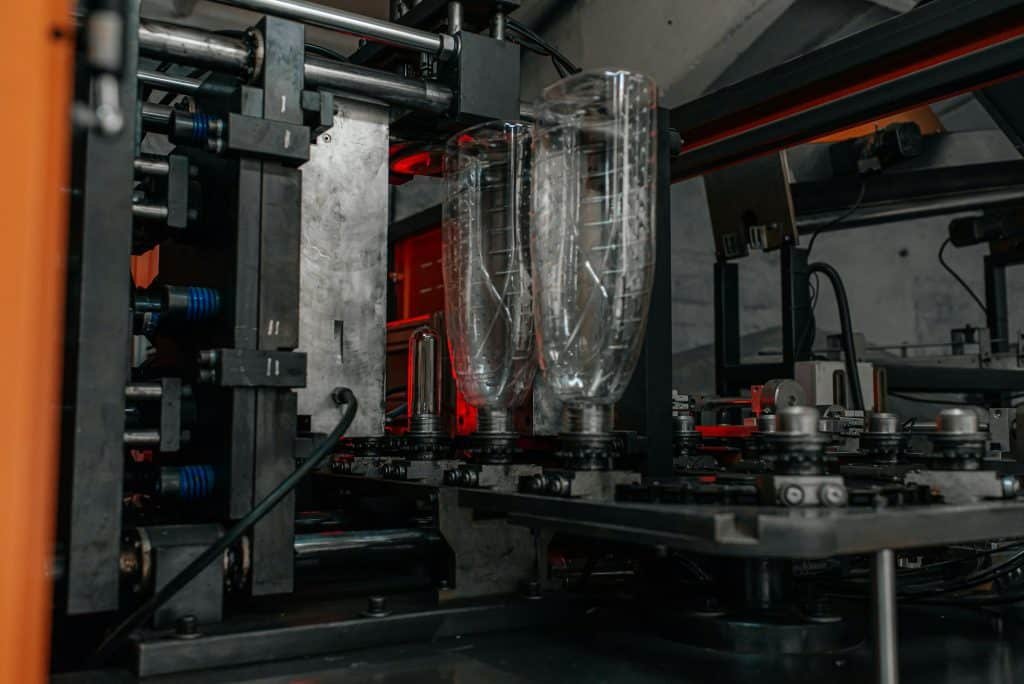
The injection molding process begins with clamping, which is essential for securing the mold in place. The mold consists of two halves: the cavity and the core. These halves must be precisely aligned and held together under significant pressure to ensure that the molten plastic is properly contained within the mold cavity.
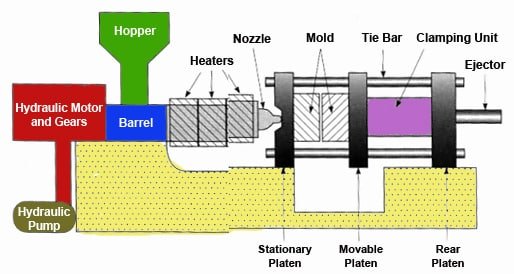
The clamping unit, a crucial component of the injection molding machine, is responsible for this task. It consists of a stationary platen (to which one half of the mold is attached) and a moving platen (which holds the other half). The clamping unit exerts force to close the mold and keep it closed during the injection and cooling phases.
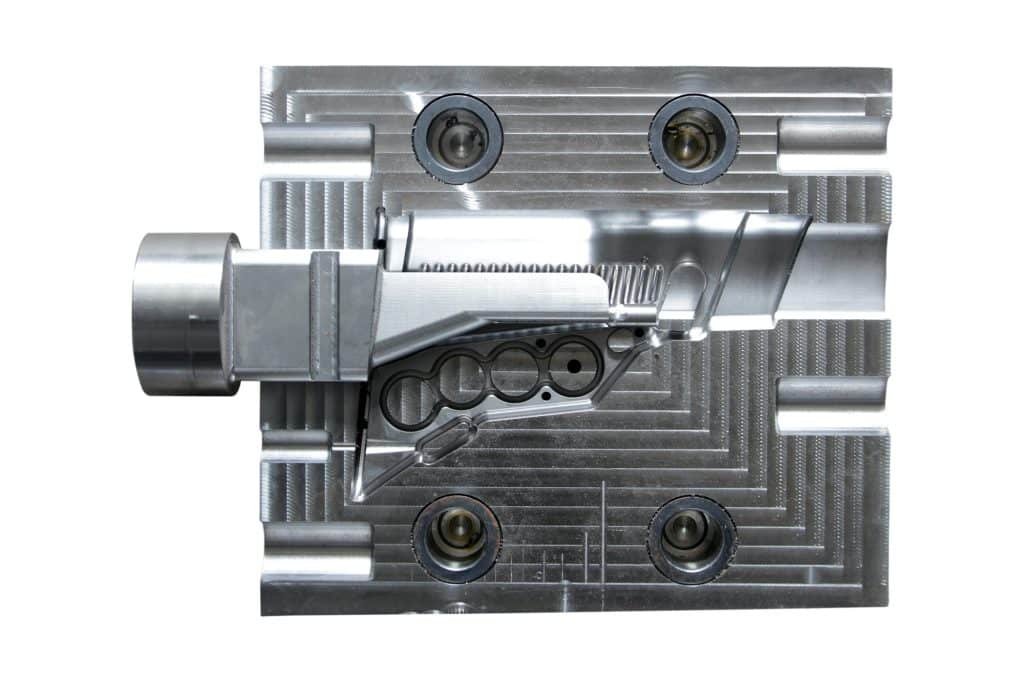
Proper clamping is vital for several reasons:
- Preventing Leakage: Ensuring that the molten plastic does not escape the mold cavity during injection.
- Maintaining Alignment: Keeping the mold halves perfectly aligned to produce parts with accurate dimensions.
- Withstanding Pressure: Holding the mold tightly to withstand the high pressure exerted by the injection unit.
The clamping force required depends on the size and complexity of the part, as well as the material being used. Proper calibration of the clamping unit ensures efficient and defect-free production.
2. Injection: Filling the Mold
Once the mold is securely clamped, the injection phase begins. This step involves melting the plastic pellets and injecting the molten plastic into the mold cavity. Here’s how it works:
- Plastic Melting: The plastic pellets are fed into the injection molding machine’s barrel, where they are heated by electric heaters until they reach a molten state. The temperature must be carefully controlled to ensure the plastic is properly melted without degrading.
- Injection: A reciprocating screw or a plunger inside the barrel pushes the molten plastic through a nozzle and into the mold cavity. This process must be done quickly and with high precision to ensure the mold cavity is filled before the plastic begins to cool and solidify.
Key considerations during the injection phase include:
- Injection Speed and Pressure: These parameters must be optimized to ensure the mold cavity is filled uniformly and without introducing defects such as air bubbles or incomplete filling.
- Material Flow: The flow characteristics of the molten plastic must be managed to avoid issues like weld lines, warping, and sink marks.
3. Cooling: Solidifying the Part
After the mold cavity is filled with molten plastic, the cooling phase begins. Cooling is critical as it solidifies the plastic and determines the final properties of the molded part.
- Heat Transfer: The heat from the molten plastic is transferred to the mold, which is typically cooled using a water or coolant system circulating through channels in the mold. Efficient heat transfer is essential to minimize cycle times and ensure consistent part quality.
- Cooling Time: The time required for cooling depends on various factors, including the type of plastic, the thickness of the part, and the mold’s cooling efficiency. Insufficient cooling time can result in defects like warping, while excessive cooling time can reduce production efficiency.
Proper cooling ensures that the part solidifies correctly, maintains its intended shape, and is ready for ejection without deformities.
4. Ejection: Releasing the Part
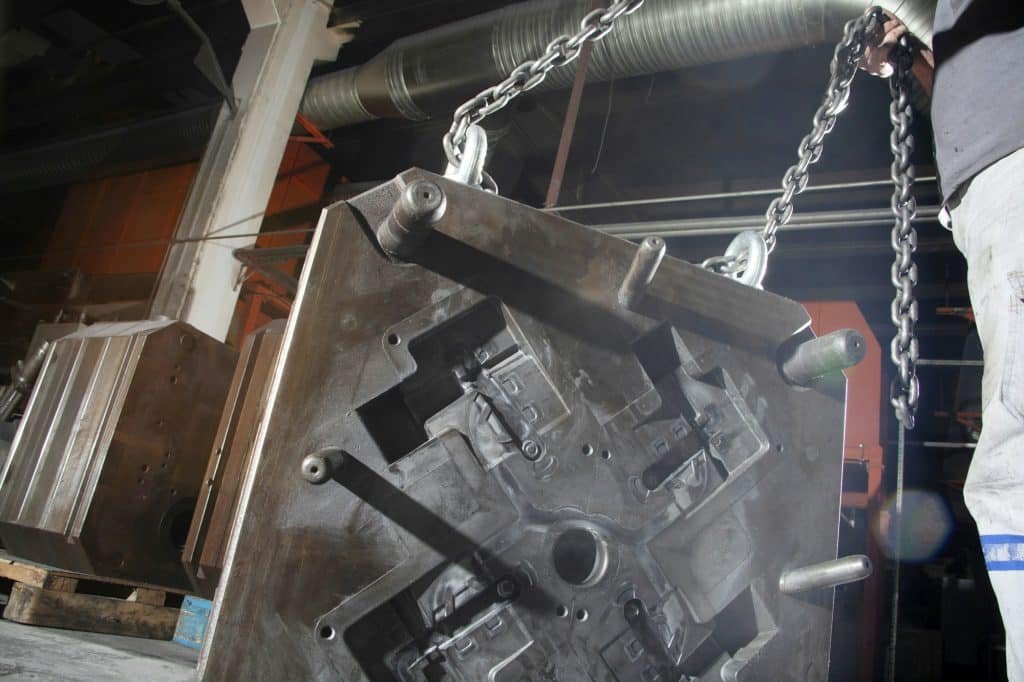
The final step in the injection molding process is ejection. Once the part has cooled and solidified, it must be carefully removed from the mold to prevent damage.
- Mold Opening: The clamping unit releases its hold, and the mold halves are separated.
- Ejector System: Ejector pins, plates, or air blasts are used to push the part out of the mold cavity. The design of the ejector system must be carefully considered to ensure smooth and damage-free ejection.
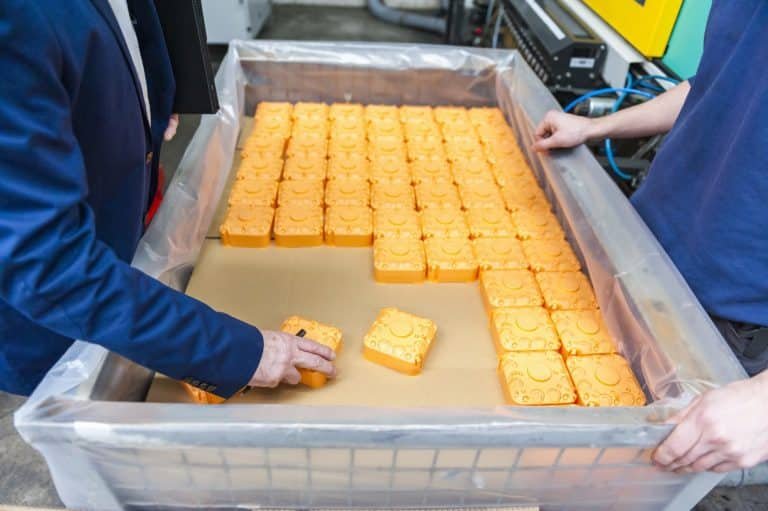
- Handling: The newly molded part is collected, inspected, and moved to the next stage of production, such as post-processing, assembly, or packaging.
Effective ejection is crucial for maintaining the quality of the part and preparing the mold for the next injection cycle.
Summary
Understanding the detailed steps of the injection molding process—clamping, injection, cooling, and ejection—reveals the precision and complexity involved in producing high-quality plastic parts. Each phase requires meticulous attention to detail and optimization to ensure efficiency, accuracy, and consistency in manufacturing.
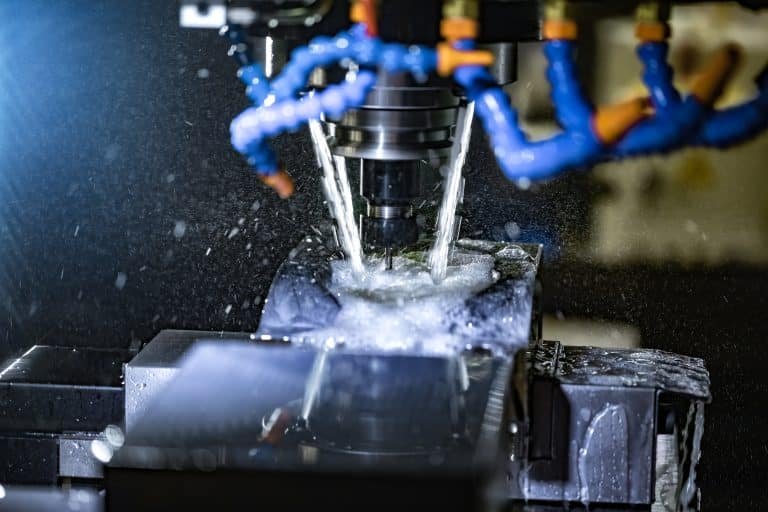
At BFY Mold, we specialize in providing top-notch injection molding and mold manufacturing services. Our state-of-the-art factory is equipped to handle mass production, on-demand production, CNC machining, mirror spark, and more. With a commitment to quality and innovation, we are dedicated to delivering superior products that meet your exact specifications.
Contact us today to learn more about our services and how we can assist you with your next project.
